Demo workflow
Overview
Now you have been configurated everything, let’s walk through demos and see how it actual work.
Upload Malware File to S3
For demonstration purposes only! You should avoid uploading suspicious files to your S3 bucket, as it could lead to service termination or worse. In this tutorial, I’ll be using a Malware Testfile. You can follow along and download it from this link
- Navigate to
s3-raw-gdand click Upload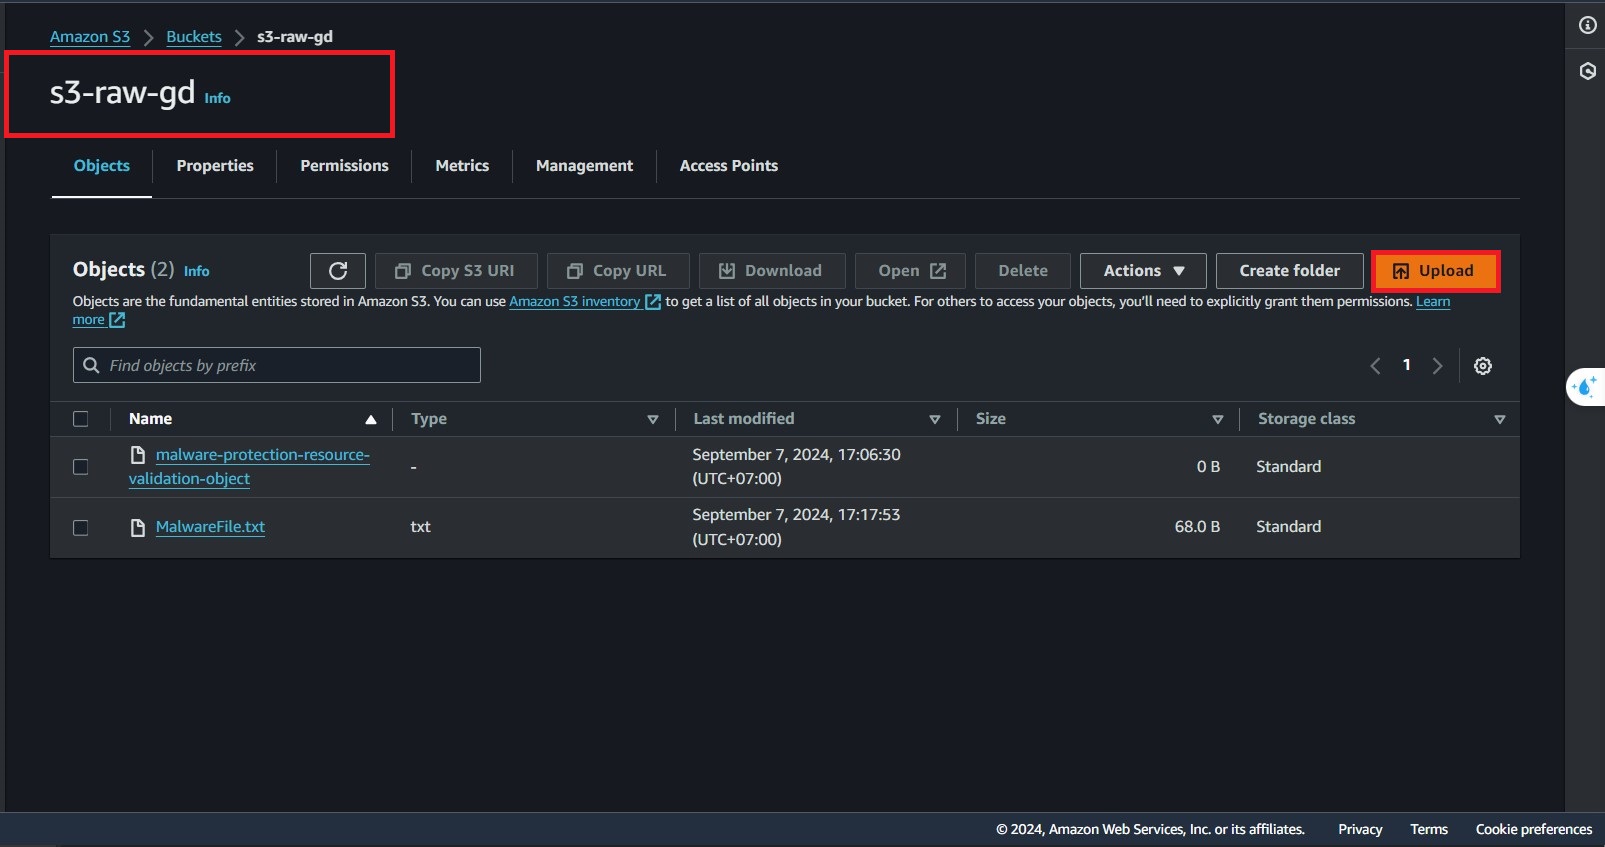
- Upload the malware file
virusFile.txtto S3 bucket that enable for protections3-raw-gd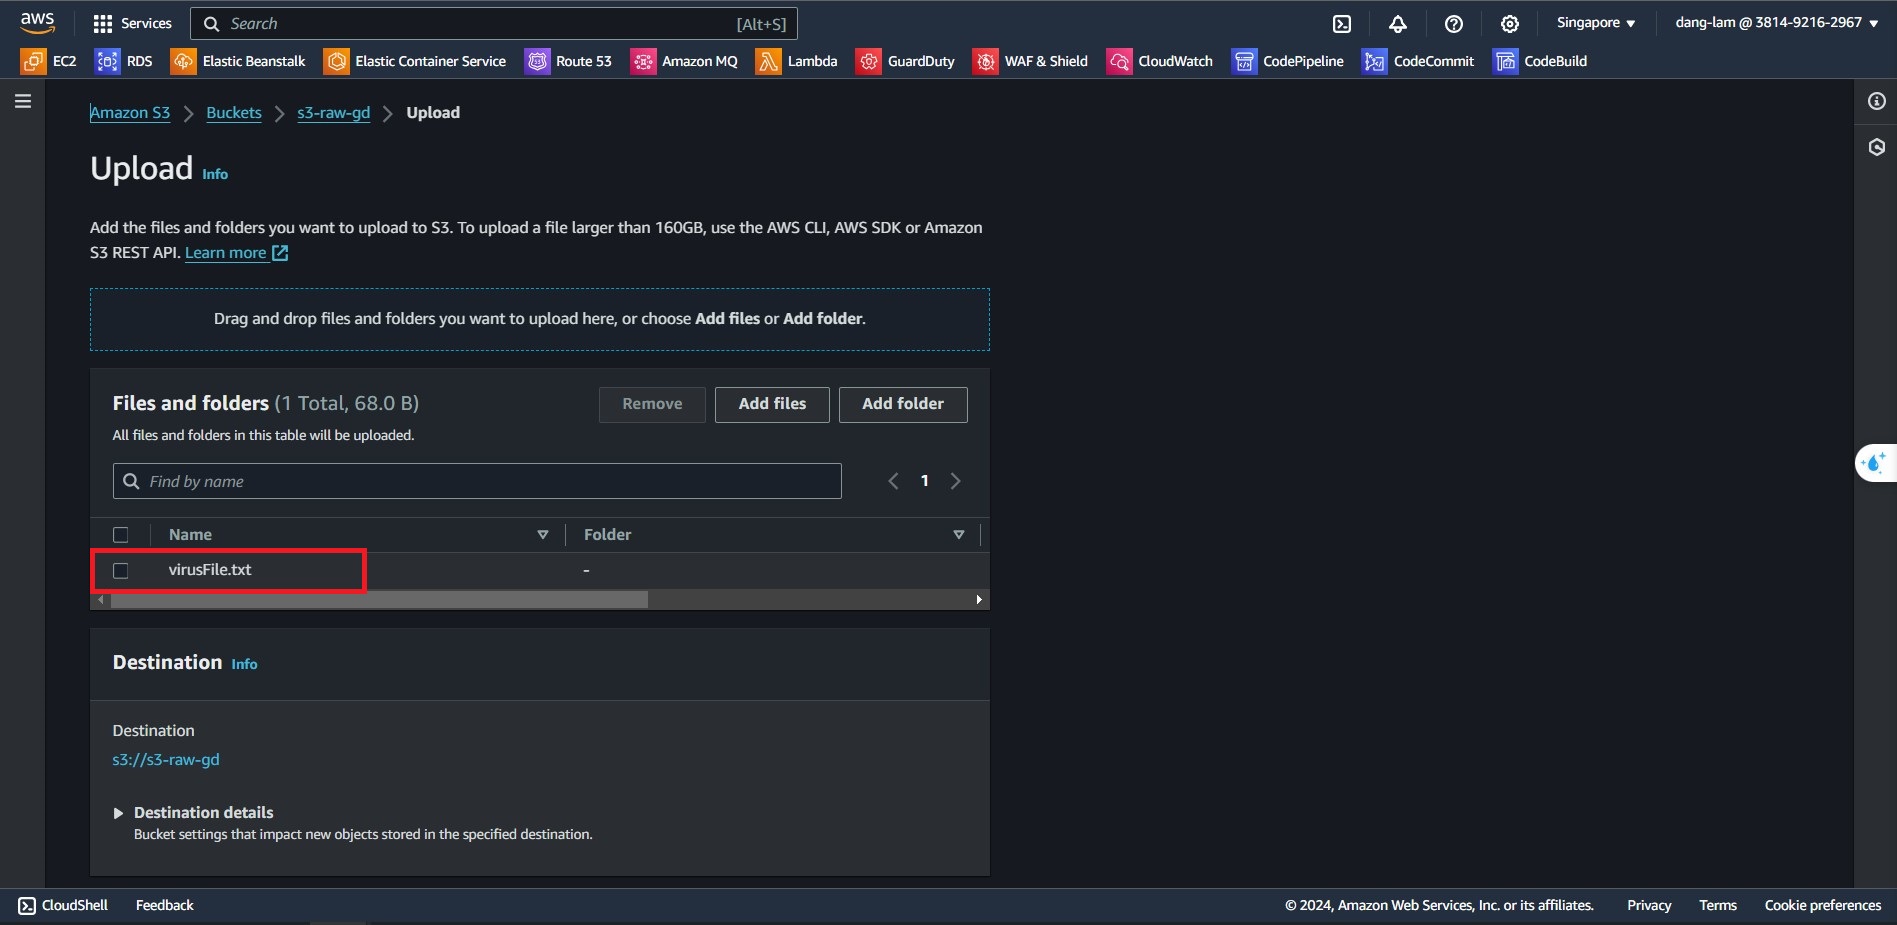
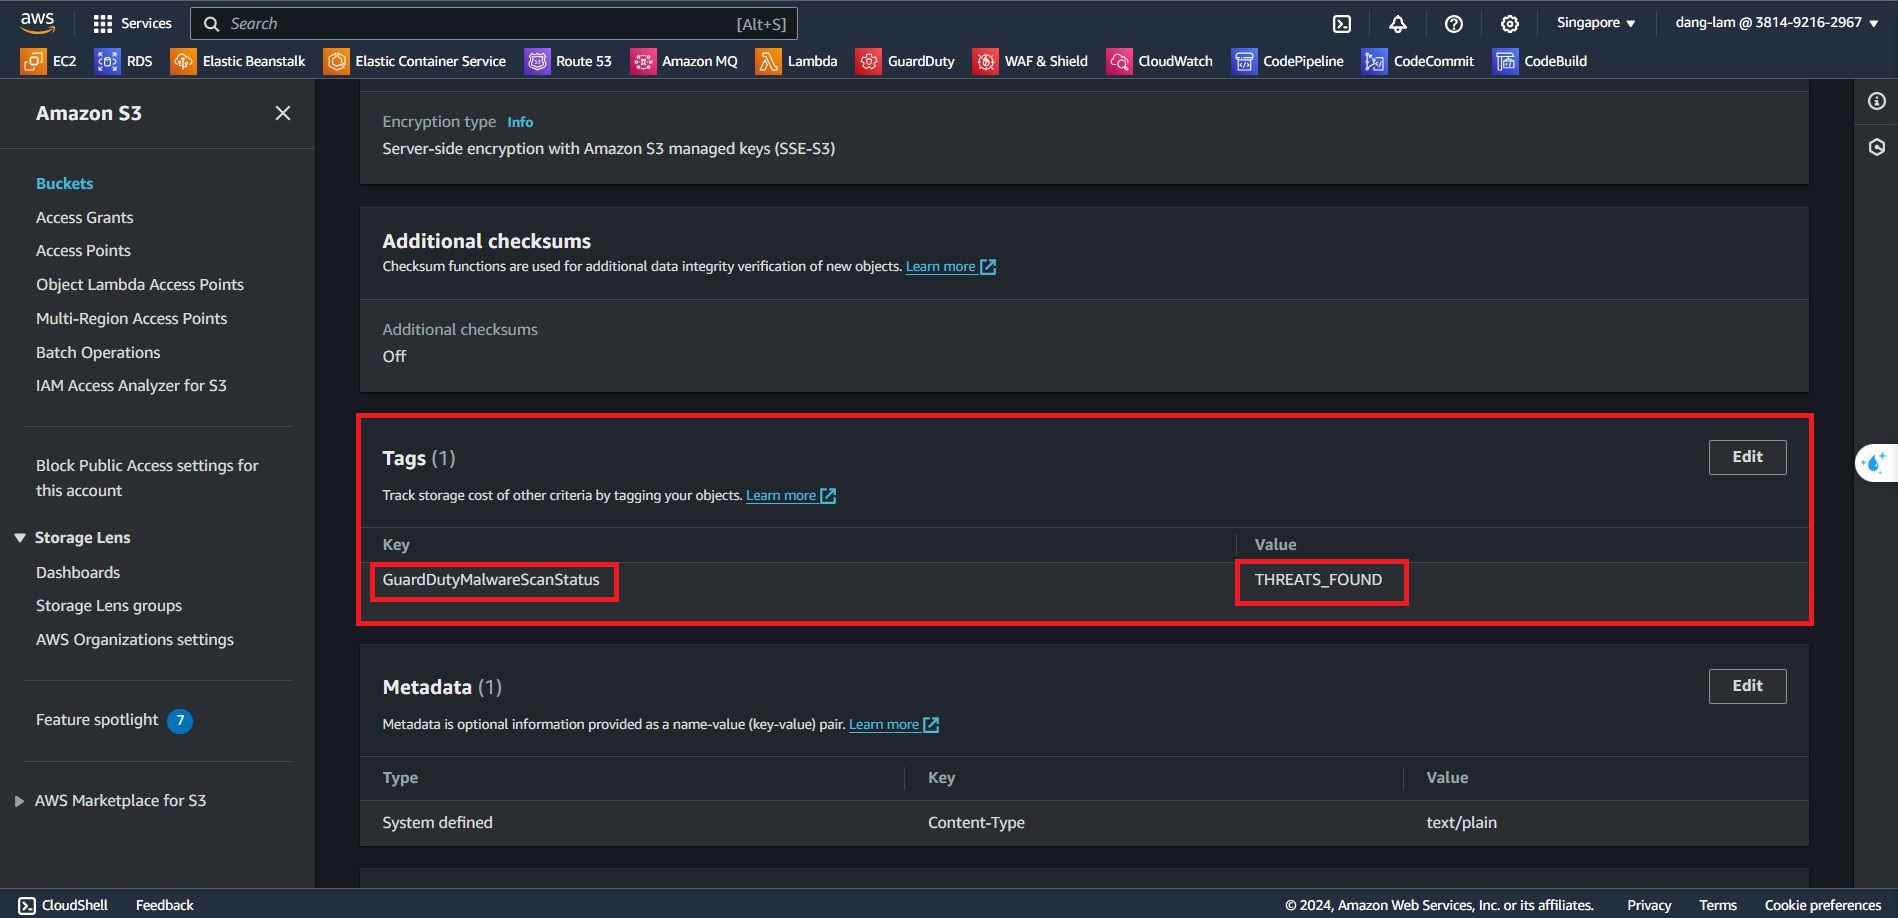
- Immediately, GuardDuty will scan all the files within the bucket and tagging Scan Status
- S3 object potential malware scan result status values
- NO_THREATS_FOUND – GuardDuty detected no potential threat associated with the scanned object.
- THREATS_FOUND – GuardDuty detected a potential threat associated with the scanned object.
- UNSUPPORTED – There are a few reasons why Malware Protection for S3 will skip a scan. Potential reasons include password-protected file, Malware Protection for S3 quotas, and support for certain Amazon S3 features may be unavailable. For more information, see Capabilities of Malware Protection for S3.
- ACCESS_DENIED – GuardDuty can’t access this object for scanning. Check the IAM role permissions associated with this bucket. For more information, see Prerequisite - Create or update IAM role policy.
- FAILED – GuardDuty can’t perform malware scan on this object because of an internal error.
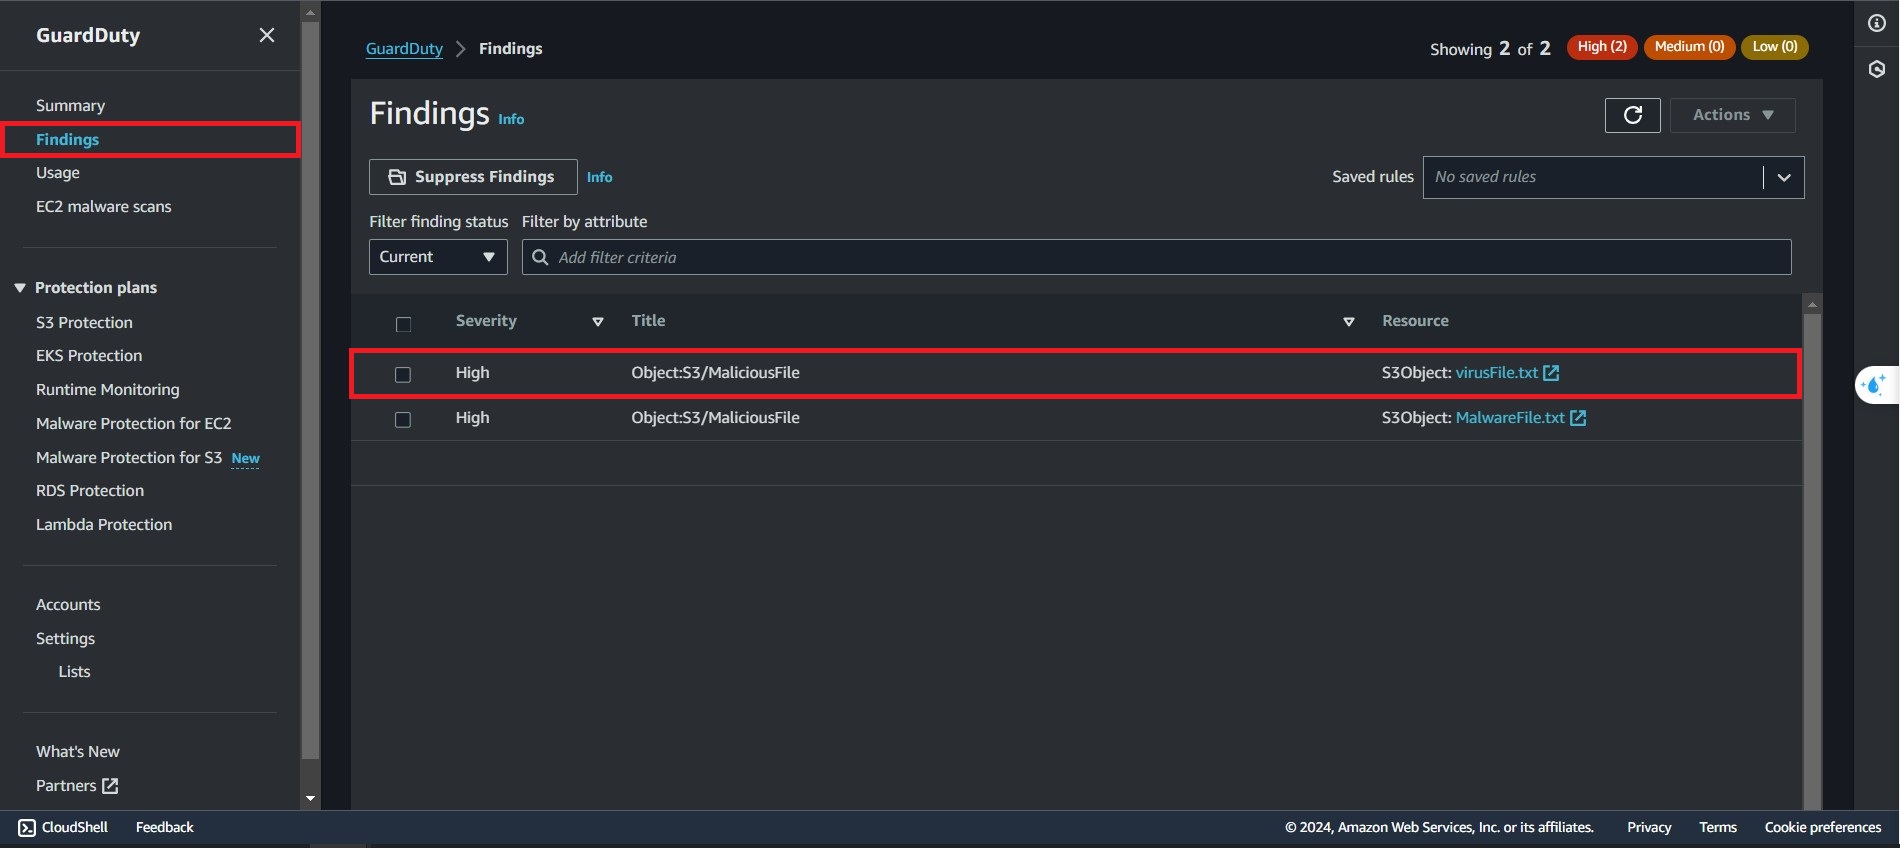
- In the GuardDuty Console, You can find all the findings that GuardDuty detected here.
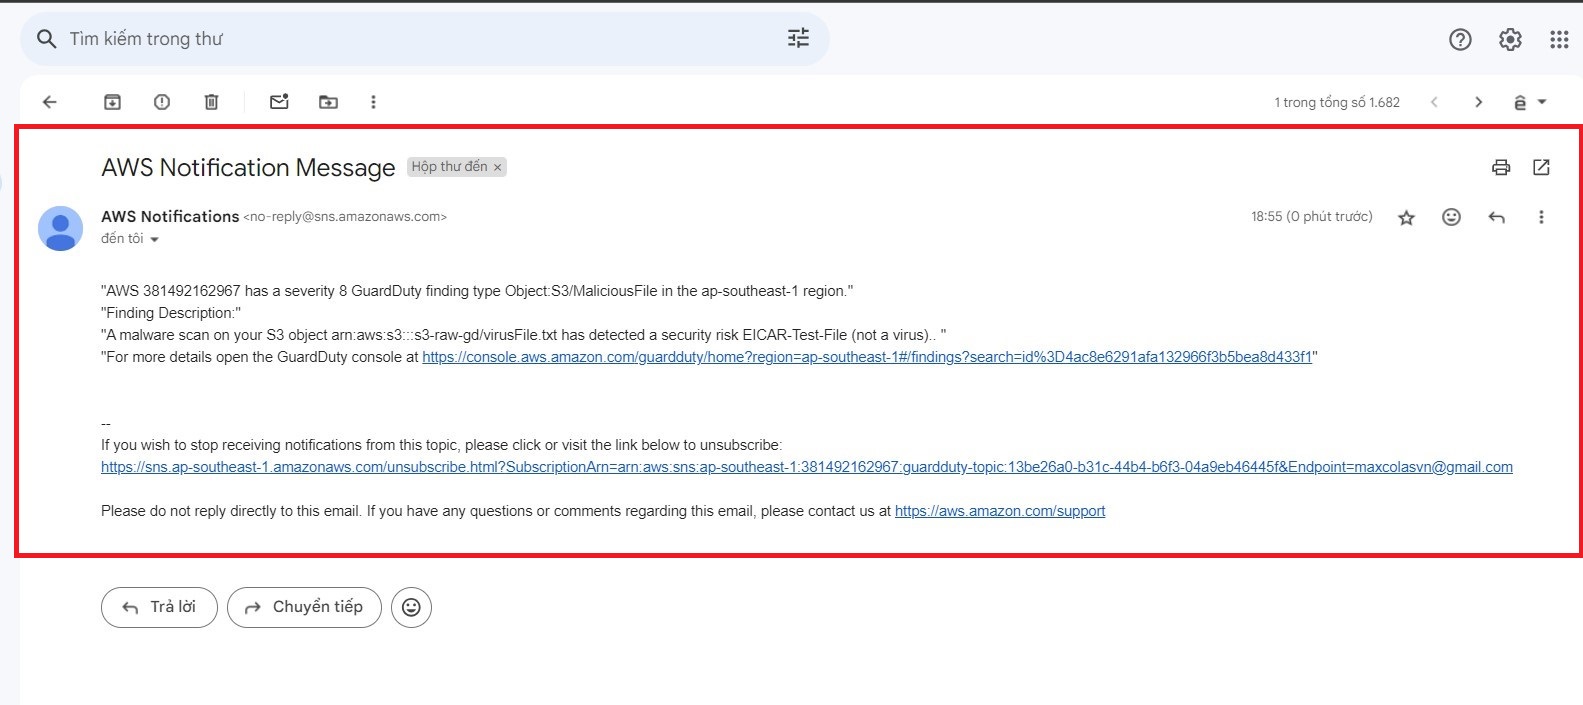
Notification
- After detected a findings, you will recieve an email that you configured before.
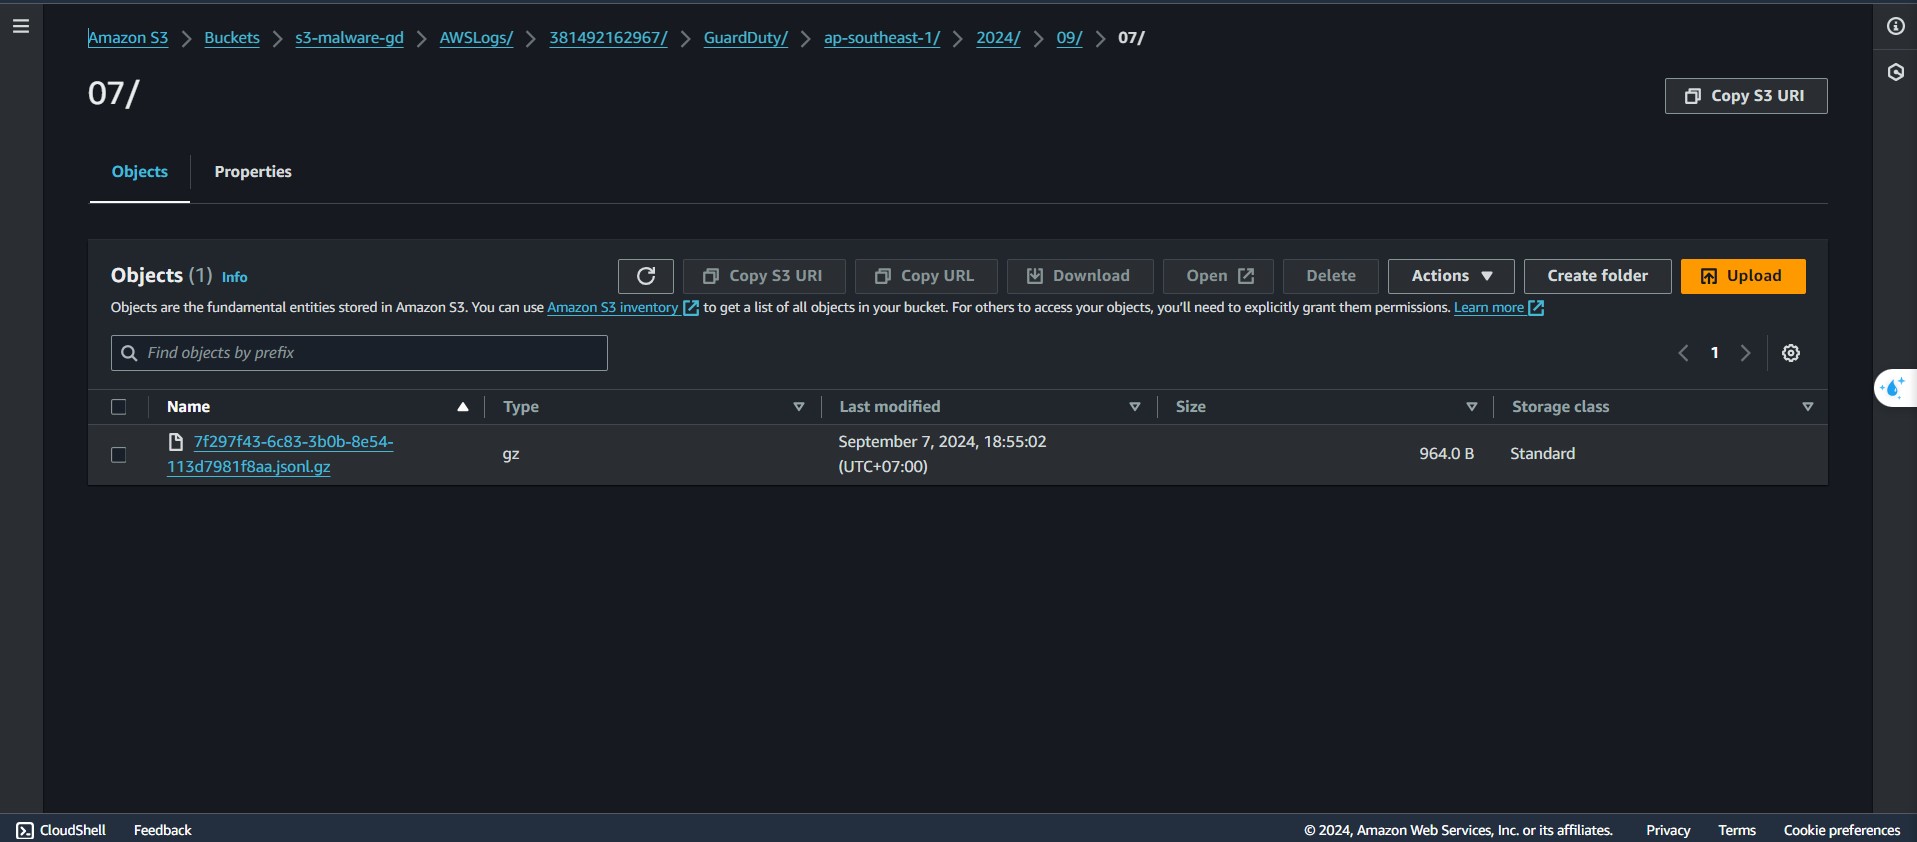
S3 Export Logs
- Navigate to
s3-malware-gdbucket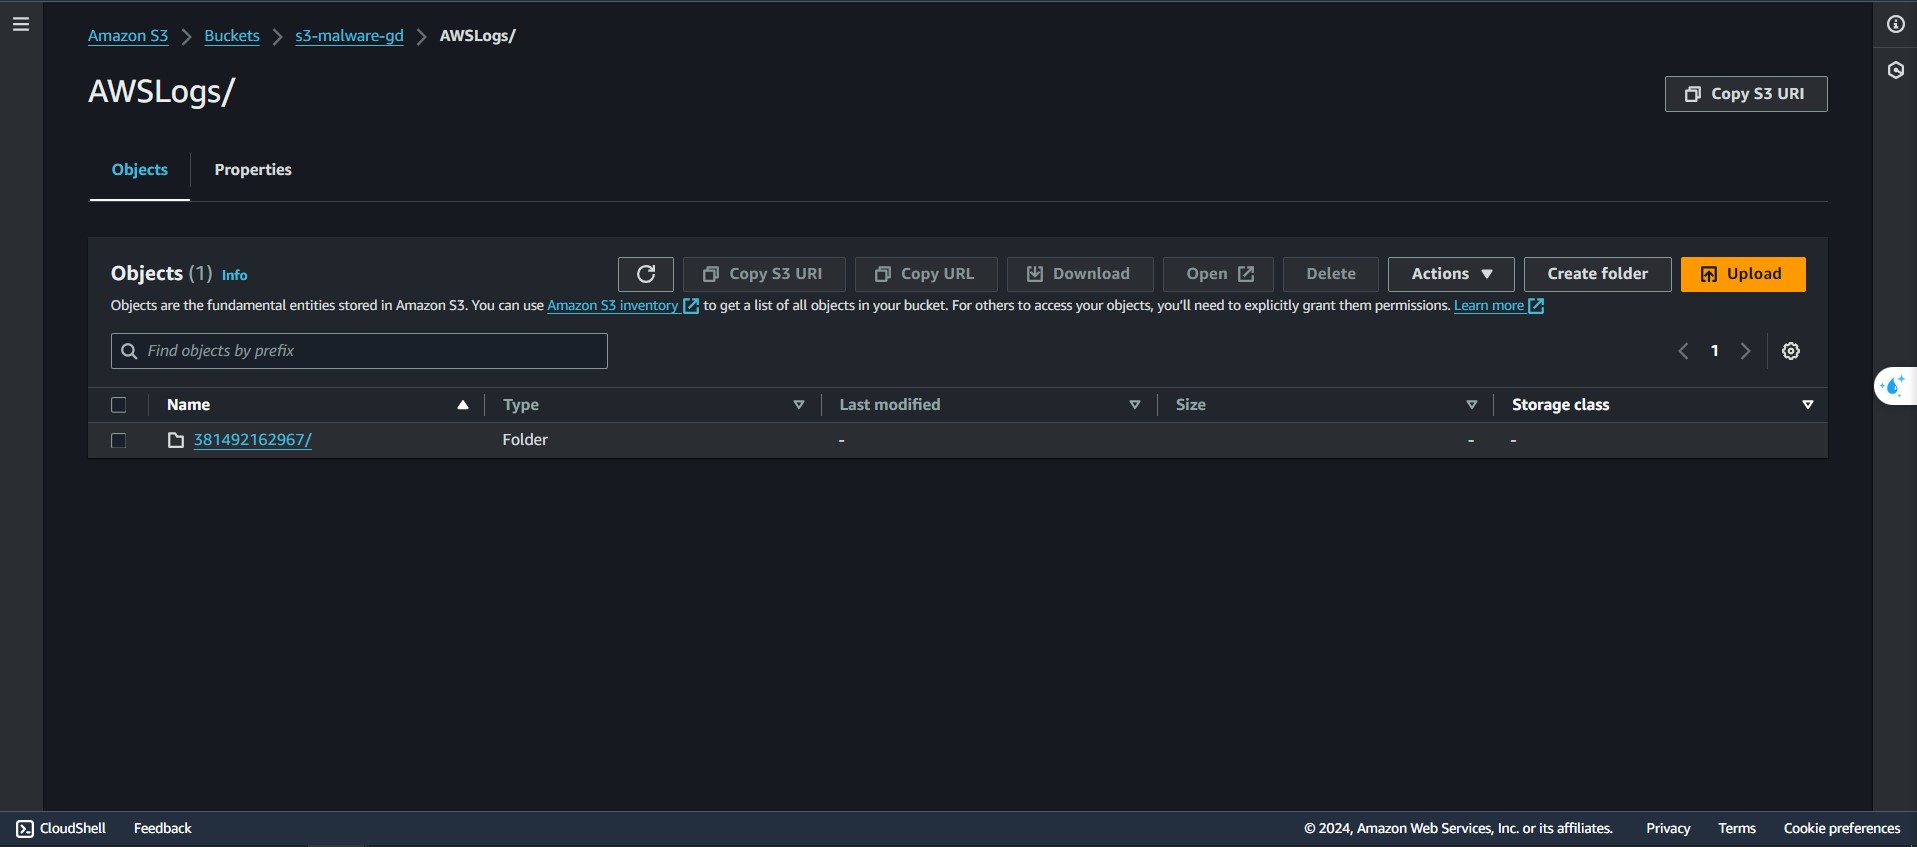
- You can found the bucket findings that have been encryted here